For those unfamiliar with Torchy’s, it is a famed Tex-Mex restaurant chain based in Austin, Texas, known far and wide for its tantalizing tacos and Queso. But the famous Torchy’s queso recipe was always a tingle people sought to replicate. It boxed up the perfect blend of creamy and spicy and wrapped it up in warmth and richness that leaves you craving for more.
I’ve ventured to decode the mysteries of this delectable dish, and while I’ll assert that nobody does Queso quite like Torchy’s, my version comes pretty close. Using all your senses, it’s time to delve into the exciting world of Tex-Mex cuisine right from your kitchen.
What is Torchy’s Queso?
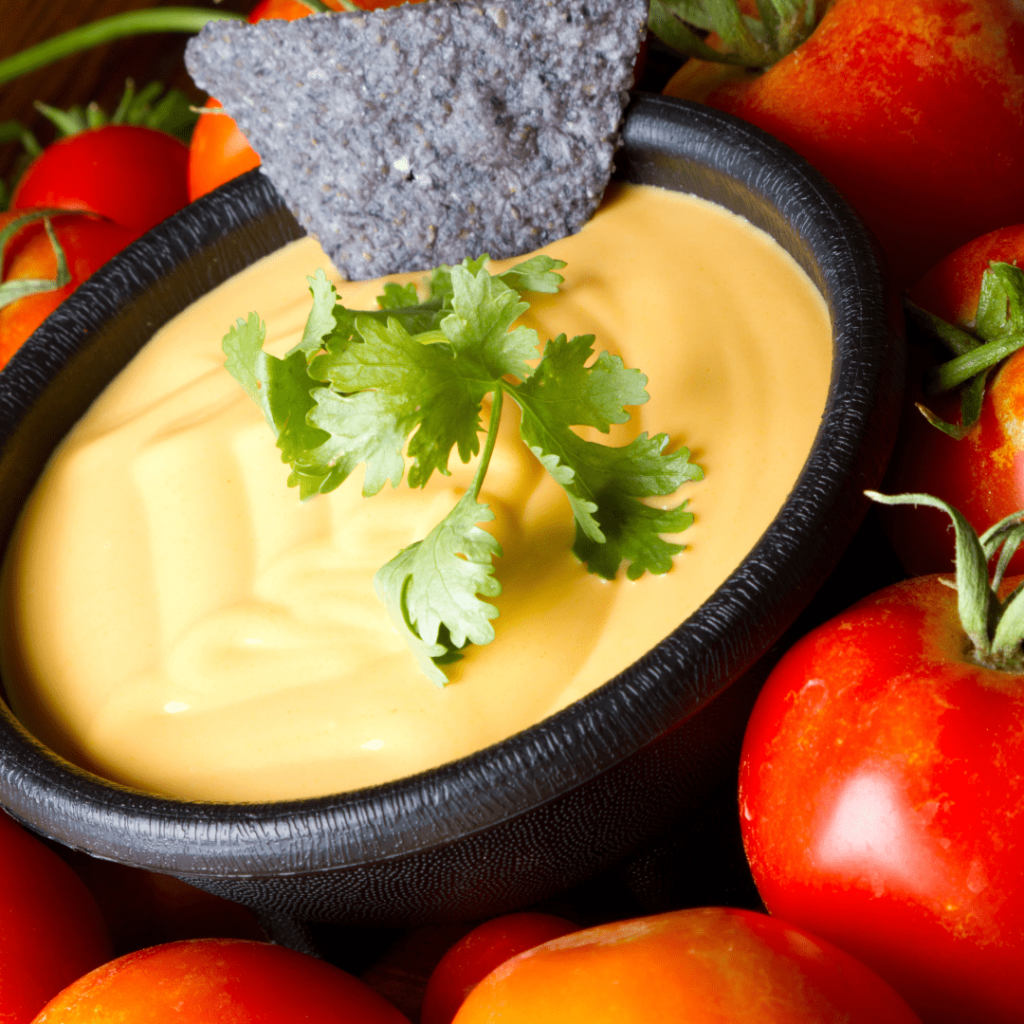
Torchy’s Queso is a Tex-Mex staple that has been a part of Texas life since way before Torchy’s Tacos came along. It’s a cheese dip made with cheddar, jalapeños, and tomatoes that is served with tortilla chips and can be added to any of Torchy’s tacos for an extra kick.
What is Torchy’s Queso made of?
- 2 cups (250g) grated Monterey Jack cheese
- 1 cup (125g) grated pepper jack cheese
- 2 tablespoons (30g) cream cheese
- 1 tablespoon canola or vegetable oil
- 1 medium-sized yellow onion, finely chopped
- 1 medium-sized tomato, diced
- 3 garlic cloves, minced
- 1 jalapeno, seeded and finely chopped
- 1 teaspoon ground cumin
- 1 teaspoon paprika
- 1/2 teaspoon chili powder
- 1/2 teaspoon black pepper
- 1/4 teaspoon salt (adjust to taste)
- 1/4 cup (60ml) whole milk (plus more if needed)
- ¼ cup (60ml) water
- 1 cup (230g) canned chopped green chiles
- Fresh cilantro, chopped (for garnish)
- Tortilla chips (for serving)
Instructions
- In a large skillet, heat canola oil over medium heat. Once shimmering, add finely chopped onions and sauté until translucent, about 5 minutes. Add minced garlic, jalapeno, cumin, paprika, chili powder, pepper, and salt. Stir well and cook for an additional 3-4 minutes.
- Add diced tomatoes to the skillet, stirring to combine. Let the ingredients simmer for 2-3 minutes so the flavors mingle together.
- Lower the heat to a medium-low setting. Slowly pour in the whole milk and water, gently stirring to ensure even mixing.
- Gradually add the grated Monterey Jack and pepper jack cheeses, stirring continuously to avoid clumping. Remember to keep the heat low during this process to prevent the mixture from separating.
- With the heat still on medium-low, mix in the cream cheese. Pro tip: breaking the cream cheese into small pieces will ease the melting process.
- Once all the cheese is melted and well combined, add the canned chopped green chiles, blending them into the Queso for approximately 2 minutes.
- Check the consistency of your Queso. If it’s too thick, feel free to add a splash of milk to achieve the desired velvetiness.
- Now the moment you’ve been waiting for—savor your homemade Torchy’s Queso! Ladle your Queso into a serving bowl, garnish with fresh cilantro, and serve alongside a generous helping of tortilla chips.
Tips
- For extra heat, add more jalapenos or experiment with different types of chiles.
- Leftovers? Reheat the Queso on low heat, which prevents the cheese from seizing up.
- To further customize your Queso, add ground meat, beans, or corn to the mix. The possibilities are endless!
What to serve with
Torchy’s Queso is a Tex-Mex delight, and it pairs well with a variety of dishes. Here are some delicious options to serve with:
- Tortilla Chips: The classic pairing! Serve with warm, crispy tortilla chips for a simple and satisfying combination.
- Nachos: Create a nacho platter with layers of tortilla chips, Torchy’s Queso, black beans, jalapeños, diced tomatoes, and a dollop of sour cream. It’s a party on a plate!
- Tacos: Use as a topping for your tacos. Whether it’s drizzled over grilled chicken, beef, or veggies, the creamy and cheesy Queso adds a burst of flavor.
- Loaded Fries: Top a pile of crispy fries with Torchy’s Queso, and add toppings like crumbled bacon, green onions, and a touch of hot sauce for a Tex-Mex twist on loaded fries.
- Quesadillas: Spread inside your quesadillas for an extra cheesy and flavorful kick. It’s a gooey delight that takes your quesadilla to the next level.
- Cheeseburgers: Use as a unique and tasty topping for your cheeseburgers. The creamy queso pairs surprisingly well with a juicy burger patty.
- Breakfast Burritos: Include in your breakfast burrito for a morning indulgence. It adds a creamy and cheesy element that’s hard to resist.
- Chili Con Queso: Enhance your chili con carne by stirring in Torchy’s Queso. It adds richness and depth to the chili, making it a hearty and flavorful dish.
- Fajitas: Serve alongside sizzling fajitas. Dip the grilled meats and veggies into the Queso for a burst of cheesy goodness.
Storing And Reheating
You can safely store your Queso and reheat it for another round of indulgence. Here’s the optimal way to store and reheat your Queso without losing its delectable texture and flavor.
Storing
- Allow the Queso to cool down after cooking. Ensure it reaches room temperature before you decide to pack it away. Caution: Hot food can create condensation in the container, which could make your Queso watery.
- Transfer the cooled Queso into an airtight container. It’s crucial to provide this seal to prevent bacteria from spoiling the sauce and to retain its original flavors.
- The Queso can safely be stored in your refrigerator for up to four days.
Reheating
- When you’re ready to savor the Torchy’s Queso again, retrieve your container from the refrigerator and let it sit at room temperature for about five minutes to combat the hardness of chilled cheese.
- Next, transfer the amount you plan to consume into a microwave-safe bowl. If you’re reheating on a stove, you’ll want to opt for a non-stick saucepan.
- For microwave heating, set the power to medium to prevent the cheese from getting rubbery. Start with a 30-second burst, then stir and check the consistency. Repeat this process until it’s heated through, adjusting the intervals as needed.
- If using a stove, set your burner to low or medium-low. Cheese can easily burn or clump together if exposed to high heat. Stir the Queso continuously until it is completely warmed through and regained its creaminess. You can add a dash of milk if it is too thick.
Health Benefits
While Torchy’s Queso is undeniably delicious, it’s important to note that it’s not typically considered a healthy food. However, let’s explore some potential positive aspects:
- Calcium Content: Queso, being a dairy-based product, is a good source of calcium. Calcium is essential for maintaining strong bones and teeth, as well as supporting proper nerve function and muscle health.
- Protein Source: Cheese, a primary ingredient in Queso, provides a decent amount of protein. Protein is crucial for various bodily functions, including tissue repair, immune system support, and hormone production.
- Vitamin B12: Some dairy products, including cheese, contain vitamin B12. This vitamin is essential for nerve function, the production of DNA, and the formation of red blood cells.
- Contribution to a Balanced Diet: In moderation, Torchy’s Queso can be part of a balanced and varied diet. It can contribute to the overall enjoyment of meals, which is an important aspect of maintaining a healthy relationship with food.
- Satiety and Enjoyment: Including flavorful components like Torchy’s Queso in your meals may contribute to satiety and satisfaction, potentially helping to prevent overeating by making meals more enjoyable.
- Mood Enhancement: The pleasure derived from indulging in tasty foods like Queso can have positive effects on mood and overall well-being. However, it’s essential to consume such treats in moderation.
- Social and Cultural Enjoyment: Food is not just about nutrition; it’s often a social and cultural experience. Sharing Torchy’s Queso with friends or family during gatherings can contribute to positive social interactions and a sense of community.
- Mindful Eating: Being mindful of what you eat, including indulgent treats like Queso, can lead to a healthier relationship with food. Enjoying it in moderation and savoring each bite mindfully can enhance the overall dining experience.
Final Thoughts
Torchy’s Queso is delicious. I know this because I have tried it. The recipe? It’s not really a recipe as much as a description of how to put together all the components. It doesn’t get any simpler than that.
More Sauce Recipes:
- Ghost Pepper Ranch Sauce Recipe
- Cookout Quesadilla Sauce Recipe
- Best Cookout Sauce Recipe
- Jimmy John’s Kickin Ranch Recipe
- Crack Sauce Recipe

Ingredients
- 2 cups (250g) grated Monterey Jack cheese
- 1 cup (125g) grated pepper jack cheese
- 2 tablespoons (30g) cream cheese
- 1 tablespoon canola or vegetable oil
- 1 medium-sized yellow onion, finely chopped
- 1 medium-sized tomato, diced
- 3 garlic cloves, minced
- 1 jalapeno, seeded and finely chopped
- 1 teaspoon ground cumin
- 1 teaspoon paprika
- 1/2 teaspoon chili powder
- 1/2 teaspoon black pepper
- 1/4 teaspoon salt (adjust to taste)
- 1/4 cup (60ml) whole milk (plus more if needed)
- ¼ cup (60ml) water
- 1 cup (230g) canned chopped green chiles
- Fresh cilantro, chopped (for garnish)
- Tortilla chips (for serving)
Instructions
- In a large skillet, heat canola oil over medium heat. Once shimmering, add finely chopped onions and sauté until translucent, about 5 minutes. Add minced garlic, jalapeno, cumin, paprika, chili powder, pepper, and salt. Stir well and cook for an additional 3-4 minutes.
- Add diced tomatoes to the skillet, stirring to combine. Let the ingredients simmer for 2-3 minutes so the flavors mingle together.
- Lower the heat to a medium-low setting. Slowly pour in the whole milk and water, gently stirring to ensure even mixing.
- Gradually add the grated Monterey Jack and pepper jack cheeses, stirring continuously to avoid clumping. Remember to keep the heat low during this process to prevent the mixture from separating.
- With the heat still on medium-low, mix in the cream cheese. Pro tip: breaking the cream cheese into small pieces will ease the melting process.
- Once all the cheese is melted and well combined, add the canned chopped green chiles, blending them into the Queso for approximately 2 minutes.
- Check the consistency of your Queso. If it's too thick, feel free to add a splash of milk to achieve the desired velvetiness.
- Now the moment you've been waiting for—savor your homemade Torchy's Queso! Ladle your Queso into a serving bowl, garnish with fresh cilantro, and serve alongside a generous helping of tortilla chips.